
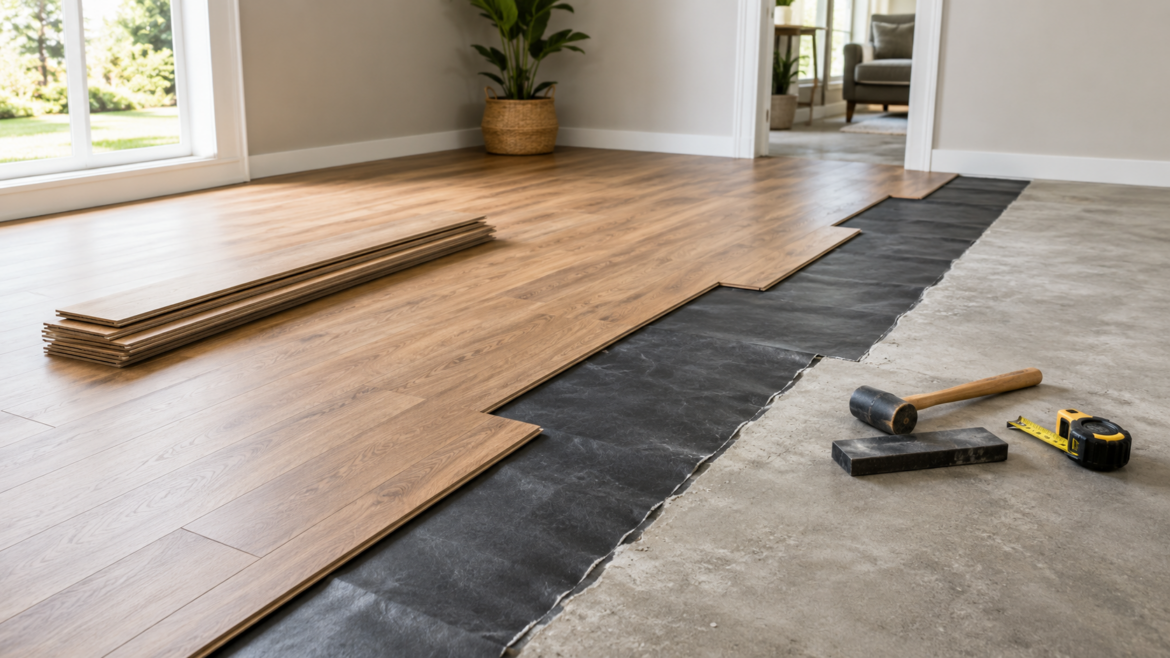
Flooring Over a Concrete Slab: The Complete Four Corners Guide
Most homes across Farmington, Bloomfield, Aztec, and Kirtland sit on a concrete slab. It is the quiet foundation under everything you walk on, and it has more say over your flooring than the color of the boards or the brand on the box. Pick the wrong floor for the slab beneath it, or skip the prep, and you can end up with cupped planks, tented tile, or a manufacturer warranty that no longer applies. Get the slab right, and almost any floor you love becomes an option.
This guide walks through everything that matters before new flooring goes down over concrete: moisture, flatness, cracks, curing time, and the handful of things that are specific to living in the high desert. Think of it as the reference we point back to whenever slab questions come up on the rest of the site.
What “slab-on-grade” actually means
A slab-on-grade foundation is a single layer of concrete poured directly on prepared ground, usually four to six inches thick, with thickened edges and reinforcing steel or wire mesh inside. There is no crawlspace and no basement air moving underneath it. The slab is the floor structure and the foundation at the same time.
That design is common across the Southwest for good reasons. It handles our soils well, it stays cool in summer, and it pairs nicely with the tile and hard-surface floors people here tend to want. It also means one thing every homeowner should understand: whatever is happening in the ground beneath your house eventually shows up in your slab, and then in your floor.
Moisture is the first question, always
If you remember one thing from this guide, make it this. The single most common reason a floor fails over concrete is moisture moving up through the slab.
Concrete looks solid, but it is porous. Ground moisture wicks up through it and evaporates off the surface as water vapor. You often cannot see it or feel it. A slab can look bone dry and still be pushing enough vapor to ruin an adhesive bond, swell a plank, or trap humidity under a vinyl floor where mold can grow.
New flooring, adhesives, and underlayments all have moisture limits. Exceed them and the failure is usually not immediate. It shows up months later as edges lifting, a hollow crunch underfoot, or a smell that will not go away. By then the fix means pulling everything up.
The two tests that actually tell you
Guessing is not a plan. There are two industry-standard tests, and reputable installers use one or both before anything goes down.
Calcium chloride test (ASTM F1869). This measures how much vapor comes off the slab surface, reported as pounds of moisture per 1,000 square feet over 24 hours, also called the moisture vapor emission rate. Many flooring products call for a reading at or below 3 pounds, though some resilient floors allow up to 5. It is a surface-level snapshot, useful but limited.
In-situ relative humidity probe (ASTM F2170). This is the more reliable method and the one most manufacturers now prefer. Small sensors are placed in holes drilled to 40 percent of the slab’s depth, then left to equilibrate for about 72 hours before reading. The result is the relative humidity deep inside the slab. A common ceiling is 75 percent RH, though some products allow 80 percent or higher. Because it reads the interior, it catches moisture that a surface test can miss.
Always check the exact number your specific flooring requires. The limits above are typical, not universal, and installing outside them is one of the fastest ways to void a warranty.
When the slab is too wet
A high reading does not mean the project is dead. It means you need a moisture mitigation step first, usually a topical epoxy or a liquid membrane rolled onto the slab that slows vapor to a level the floor can tolerate. It adds cost and a day or two to the timeline, and it is far cheaper than replacing a failed floor later.
Is the slab flat enough?
Flatness and level are two different things, and flatness is the one that matters most for flooring. A slab can slope slightly and still take a floor beautifully. What causes trouble is the roll: the high and low spots across the surface.
A widely used tolerance is no more than 3/16 inch of variation within a 10-foot span, tightening to 1/8 inch within 6 feet. Large-format tile and rigid click floors are less forgiving and often call for flatter still. You can check your own slab roughly by laying a long straightedge across it and looking for daylight underneath.
Why it matters: click-together floors that bridge a low spot will flex and eventually break at the joints, and that hollow, clicking feeling underfoot is almost always a flatness problem, not a product defect. Low areas get filled with a self-leveling compound; high spots get ground down. It is routine prep, but it has to happen before installation, not after.
Cracks: which ones matter and which ones don’t
Nearly every slab has cracks. The trick is telling the harmless ones from the ones that signal a moving foundation.
Hairline and shrinkage cracks appear as concrete cures and are almost always cosmetic. They can be cleaned, filled, and floored right over.
Control joints are the straight lines intentionally cut into the slab to tell it where to crack. These are supposed to be there.
Wide, offset, or lengthening cracks, especially ones where one side sits higher than the other, are a different story. They can point to soil movement under the house, and that is worth a closer look before you invest in new flooring. Installing over an actively moving crack just transfers the problem to your floor.
If you are unsure which kind you have, it is worth an honest opinion before you commit to materials.
New construction: give the slab time to cure
If your slab was poured recently, patience pays off. Fresh concrete carries an enormous amount of water, and it needs time to release it before a moisture-sensitive floor goes on top.
The old rule of thumb was roughly 30 days of curing before flooring, and that is still a reasonable minimum for many products. But time alone is not proof. A slab in our dry climate can feel ready at the surface while the interior is still well above a floor’s RH limit. The curing window gets you into range; the moisture test confirms you are actually there. Do both.
What’s different about the Four Corners
Living in the high desert changes the calculus in a few specific ways.
Low ambient humidity cuts both ways. Our dry air is friendly to hardwood and helps slabs give up surface moisture. But it does nothing to stop moisture rising from the ground below, especially in homes without a good vapor barrier under the original pour. Do not let dry air outside talk you out of testing.
Expansive soils. Parts of the region sit on clay-heavy soil that swells when it gets wet and shrinks as it dries. That movement is a leading cause of the wider slab cracks described above. Managing drainage around the house, so water is not repeatedly soaking the soil at the foundation, protects both the slab and the floor on top of it.
Big temperature swings. Our days heat up and nights cool down hard, and slab temperature moves with the season. That matters for adhesives, which have temperature ranges for installation, and it is one more reason to let a newly delivered floor acclimate in the room before it goes down.
Radiant slabs. Some homes here have radiant heat tubing cast into the slab. If that is you, your flooring choices narrow. Engineered wood and many rigid vinyl products handle radiant heat well; solid hardwood generally does not, and every product has a maximum surface temperature you have to respect.
What flooring works over a slab
The good news is that most modern floors are built for slab installation. Here is the short version, with deeper guides linked where we have them.
Luxury vinyl plank and tile. Often the easiest match for a slab. It is dimensionally stable, and many lines are fully waterproof, which gives you margin on moisture. See our guide to waterproof luxury vinyl plank flooring for how the wear layers and cores compare.
Porcelain and ceramic tile. A natural fit for a slab and a Four Corners favorite for good reason. Flatness matters most here, particularly with large-format tile. Our tile flooring guide covers layout and material choices.
Engineered hardwood. Real wood on top of a stable plywood core, which handles slab moisture far better than solid wood and is usually the right way to get a hardwood look over concrete. We break down the differences in engineered versus solid hardwood.
Polished or stained concrete. Sometimes the slab is the floor. If yours is in good shape, finishing it directly can be a durable, low-maintenance option worth considering.
Carpet. Straightforward over a slab with the right pad, and still the warm, quiet choice for bedrooms.
Solid hardwood. The one to be careful with. Installed directly on a slab it is vulnerable to moisture and movement, and most manufacturers do not recommend it without a proper subfloor system built up first.
Wondering what all of this does to the bottom line? Our flooring cost breakdown walks through materials, prep, and installation so you can budget with the slab work included, not as a surprise.
Slab prep, start to finish
When we install over concrete, the sequence looks like this:
- Test for moisture using the methods above, before ordering anything.
- Clean the surface down to bare, sound concrete, removing old adhesive, paint, or coatings.
- Address cracks and joints, filling the cosmetic ones and flagging anything that looks structural.
- Correct flatness with grinding and self-leveling compound as needed.
- Mitigate moisture if the readings call for it.
- Acclimate the flooring in the room so it adjusts to the home’s conditions.
- Install to the manufacturer’s specification, so the warranty stays intact.
Skip a step and you are usually not saving time, you are borrowing it against a callback later.
The honest bottom line
A concrete slab is a great foundation for almost any floor, as long as you respect what it is telling you. Test the moisture, check the flatness, read the cracks, and give a new slab time to cure. Do that, and the floor you pick has every chance of lasting as long as you want it to.
If you are planning new flooring anywhere in Farmington, Bloomfield, Aztec, or Kirtland and you are not sure what your slab can handle, that is exactly the kind of thing we are happy to look at before you spend a dollar on materials.